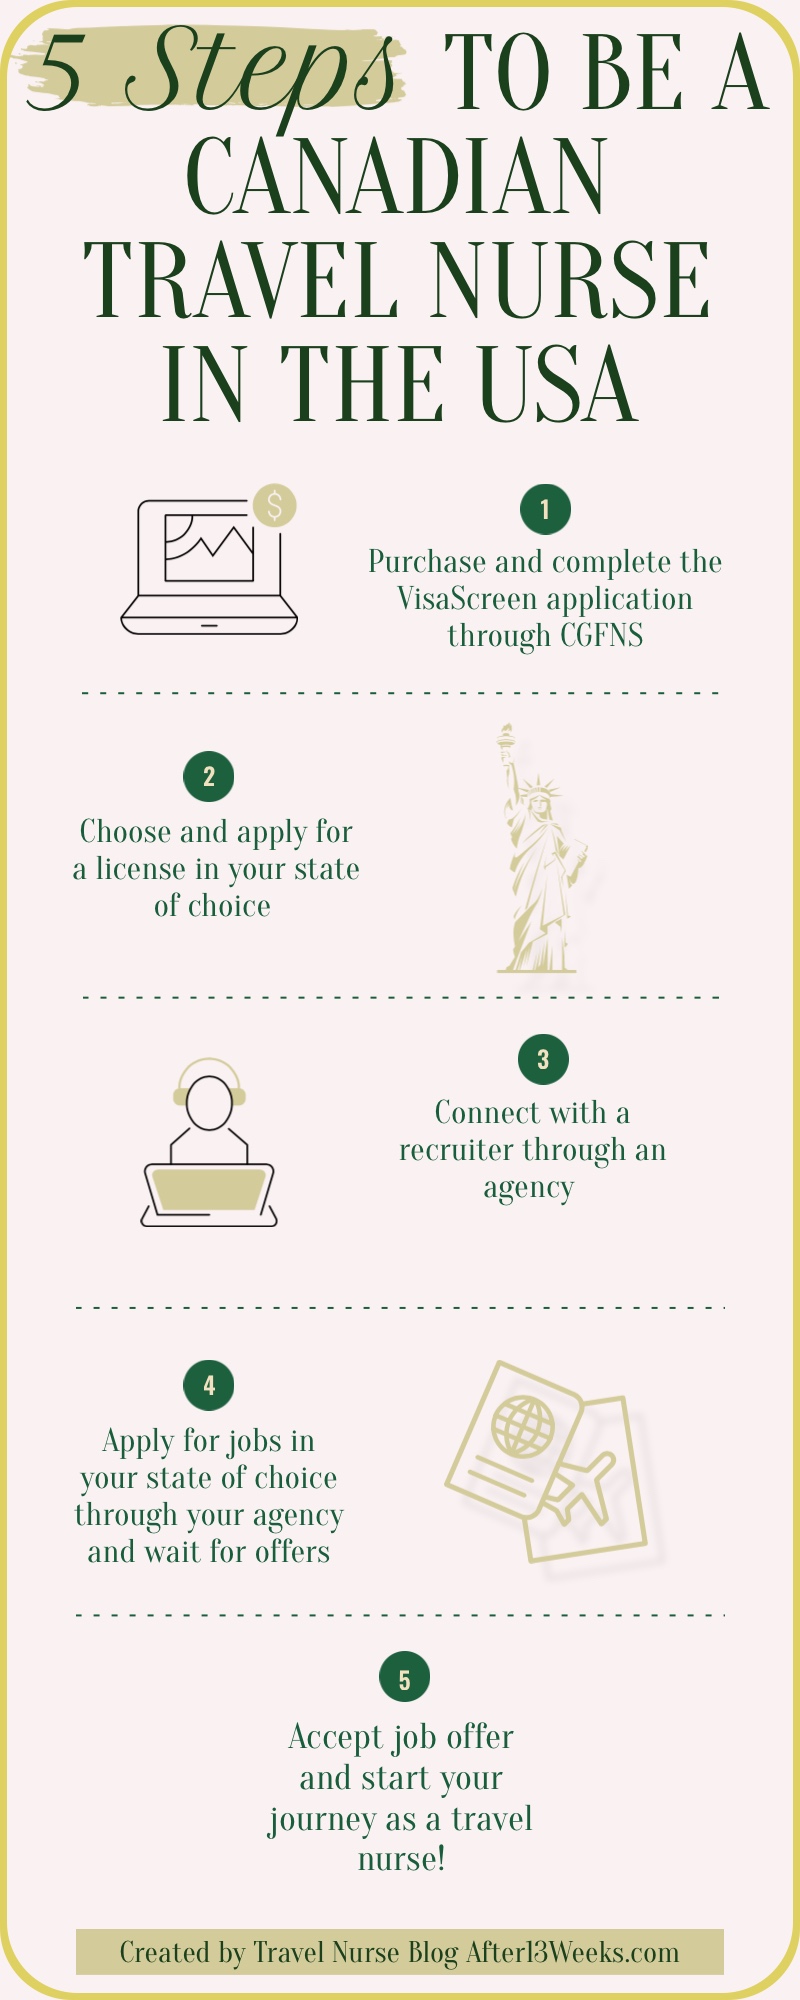
5 Steps to be a Canadian Travel Nurse in the US
Here is our guide on everything you need to do to become a travel nurse in the US as a Canadian.

Step 1: Obtain your Visa Screen certification through CGFNS (Commission on Graduates of Foreign Nursing Schools)
CGFNS is a company that evaluates your education and certifies you to work in the US as a Registered Nurse by granting the VisaScreen Certification. This allows you to connect with travel nurse agencies and work on a TN Visa. This process can take anywhere from 3-6 months or longer.
We go into more depth on CGFNS in a blog post here:
Step 2: Obtain a US State Nursing License
You need to obtain a license in the state you want to work in. Some states will require you to have a Social Security Number (SSN) before applying, and various states do not need one. License timing varies from state to state.
Step 3: Connect with Travel Agencies
You have probably started researching and considering the agency you want to work with. We recommend reaching out to multiple agencies because what makes or breaks your travel experience is how much you like your recruiter and how much experience they have with Canadians. We called many agencies, and for our first contract went with Host Healthcare and we continue to travel with them!
Once you reach out, you will need to onboard with them. This involves providing all your personal information, employment information and 2-3 references (manager, educator, charge nurse or sometimes a colleague is accepted).
You will also complete some skills checklists related to your nursing specialty.
We love travelling with Host Healthcare and learn all about them and our amazing recruiter here.
Step 4: Apply for jobs
Once you have your CGFNS VisaScreen Certificate and a US Nursing License, you can apply for jobs.
Your recruiter will send you jobs you are interested in applying for daily. You can also search for them on their website and send those you are interested in to your recruiter for more information about the position.
This is when having more than one agency onboard is helpful. Some agencies are “preferred vendors” for some hospitals which provides you an advantage when applying. Rates can also vary from agency to agency.
It is important you only apply to a specific position with one agency. So, feel free shop for contracts to find the best one for you but do not apply to the same job with multiple agencies.
Step 5: Accept Your Offer
Once you have applied for a position, you may have an interview if you are considered. Read about preparing for a travel nurse interview here.
In some cases, you may receive an auto-offer. An auto-offer means you will be offered the position without speaking to someone from the facility. In this case, you can just accept the job, easy as that!
After reviewing and receiving an offer, your recruiter will send you a pay package. You should review the pay package with your recruiter to ensure the regular rate, overtime rate, housing/food stipend, and all travel and reimbursements make sense for you.
After you are happy with the pay package, your agency will send you a formal contract to sign.
These are our 5 essentials steps to getting started on becoming a travel nurse in the US from Canada. However, as you can imagine there are many more details you will need to consider after you’ve accepted your job! Navigate our website to learn everything you need to do to become travel nurse!
